This blog covers how to set up a streamlined CI/CD process for Dynamics 365 CRM using Azure DevOps Pipelines. Learn how to automate solution exports, manage deployments across environments, and integrate with version control to reduce manual effort, minimize errors, and speed up delivery.
Prerequisites
- Admin Access: Ensure you have administrative privileges for both Azure DevOps and the Power Platform environments.
- Required Tools: Install the Power Platform Build Tools from the Visual Studio Marketplace: Power Platform Build Tools
Setup in Azure DevOps
- Create an Organization and Project
Log in to Azure DevOps. Create an organization and Project within the Azure DevOps. You can refer to the link below for more information.
- Enable Classic Editor (Optional)
Azure DevOps has deprecated the “Classic Editor” by default, but it can still be enabled via the official documentation if needed.
Let’s begin by creating Build and Release Pipelines to export and import the Dynamics 365 solution.
Create Build and Release Pipelines
- Build Pipeline:
- Set up a pipeline that handles the export of your Dynamics 365 CRM solution from the source environment.
- To begin configuring the build pipeline, go to Pipelines in Azure DevOps and select New Pipeline.
Please refer to the screenshot below
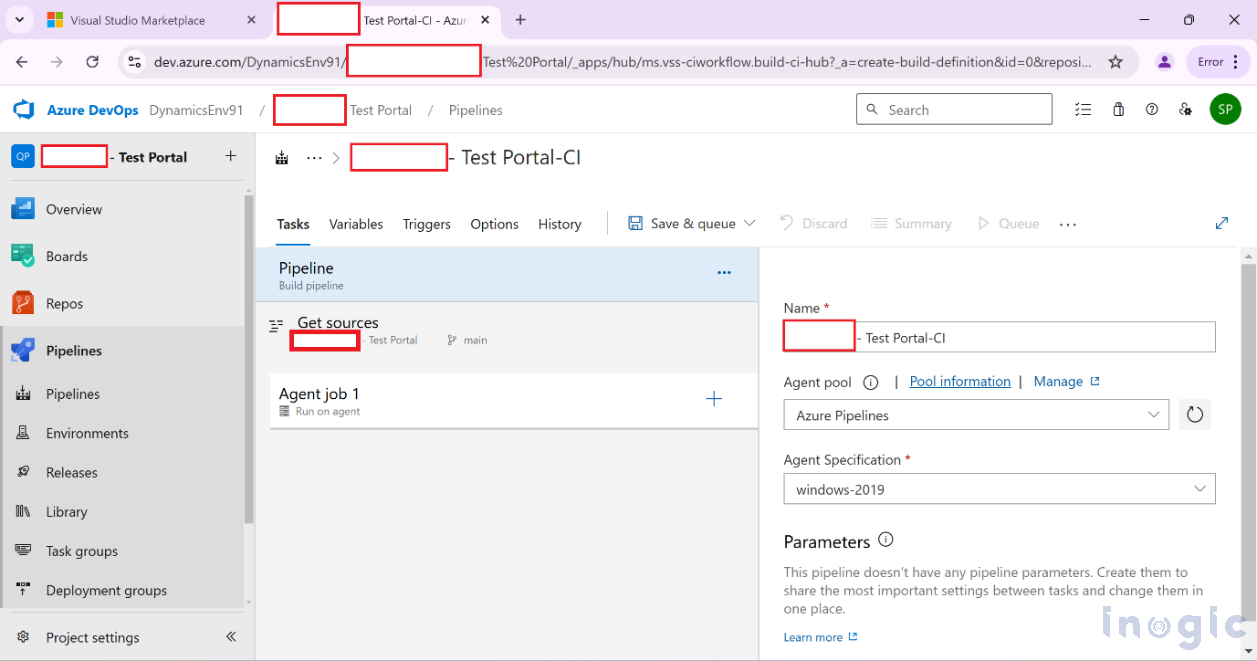
Update the pipeline name to align with your project’s naming conventions or requirements, ensuring clarity and ease of identification...Read More


