We can utilize email templates with Power Automate to send emails. Follow these steps to use email templates with Power Automate.- Create Email Template in dynamic 365.
- Configure Power Automate to Email Template.
Create Email Template in dynamic 365:
Navigate to Power Platform admin center, navigate to the Environments tab, and select your environment you wish to create email template refer below screen short.
Click on setting and look for Templets and click on Email Template.
Click on new on tool bar.
The Email Template Type dialog box will open. Select the desired entity and then click OK.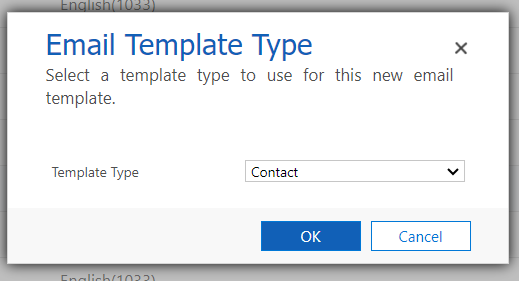
On the template form, provide a name for your email template and, if desired, add a description. Note that the email template name and description will not be visible to the recipient.
Enter the text you want to send in the message. Use the formatting toolbar to edit and style your text. Ensure your grammar is correct and make the formatting visually appealing for your audience.
To include data fields that display information such as first’s name or last name, select "Insert dynamic text" and then click "Add data field" in the dialog box.
In the dialog box, choose the appropriate Record type and Field name. Click "Insert" to add the data to the email template.
Note: First and last names are separate data values and need to be entered individually. Repeat this process for each piece of data you want to include in your email template.
Once editing is done with your email template, click Save or Save and Close.
Configure Power Automate to Email Template:Navigate to https://make.powerapps.com/ and create a new cloud flow. - Trigger the could flow when new record is create in contact entity.
2. Get Template ID from Templates entity.
3. Perform UnBound Action
Add action with Perform UnBound Action and use SendEmailFromTemplate- The TemplateId is the ID of the Email template record.
- Regarding is the record against which the Email activity will be created.
- Target is the JSON object contains the Recipients.
- The JSON object looks like as below.
{"email_activity_parties": [{"partyid_systemuser@odata.bind": "/systemusers(@{triggerOutputs()?['body/_ownerid_value']})","participationtypemask": 1},{"partyid_contact@odata.bind": "/contacts(@{triggerOutputs()?['body/contactid']})","participationtypemask": 2}],"@@odata.type": "Microsoft.Dynamics.CRM.email"}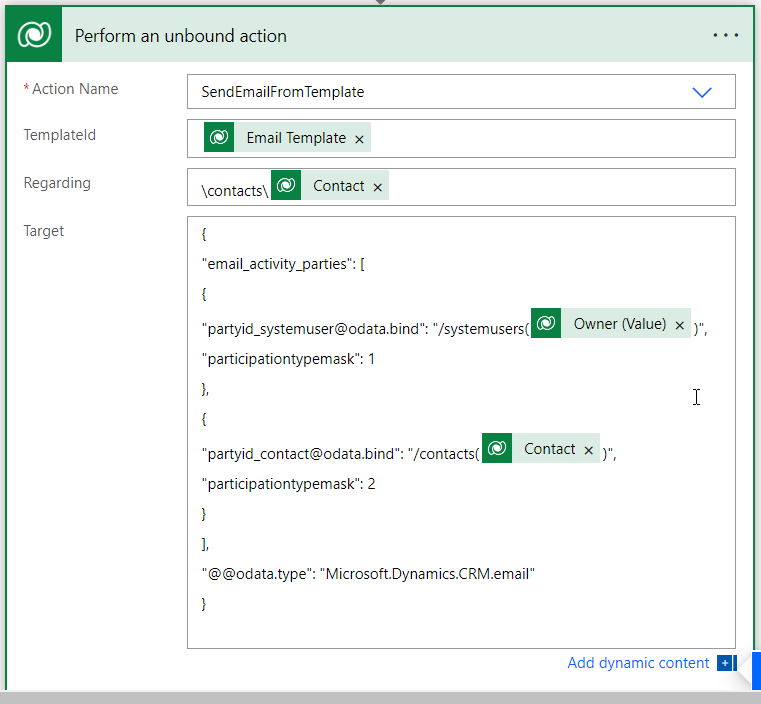
Save the flow and Test.
To test the flow, navigate to Dynamics 365 and create a new record in the Contact entity. Once the record is created, you will see that an email has been sent to the newly created contact in the timeline section.
Thank you...!


