In Microsoft Copilot Studio, you can harness structured data from Excel stored in SharePoint by using an Action with the Excel Online connector. This integration enables Copilot to retrieve and utilize Excel data as a knowledge source for automation or user queries. Large Language Models (LLMs) assist in defining the inputs and outputs, streamlining how data is processed and returned. This is particularly useful for handling dynamic data and automating responses based on real-time information from Excel sheets.
Some of the Advantages are,
- It streamlines complex data retrieval from Excel.
- Enables automation of repetitive tasks using structured data.
- Improves decision-making based on real-time insights.
Scenario:
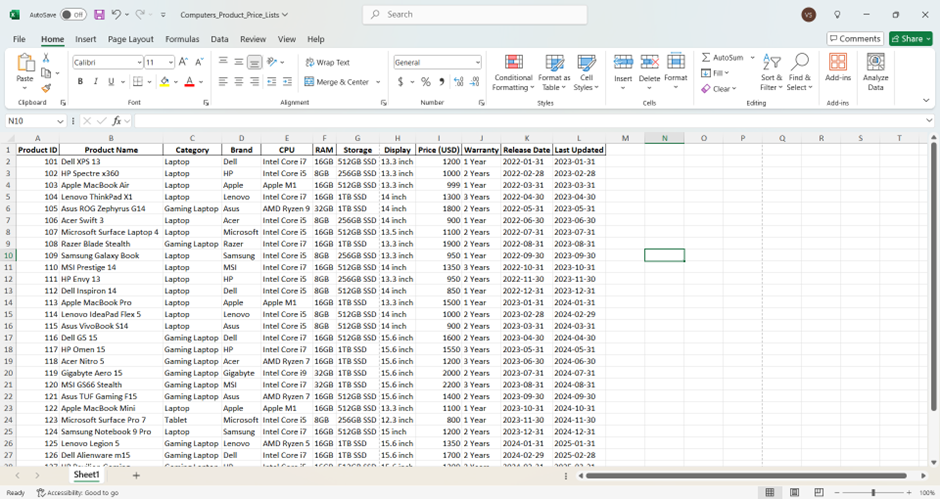
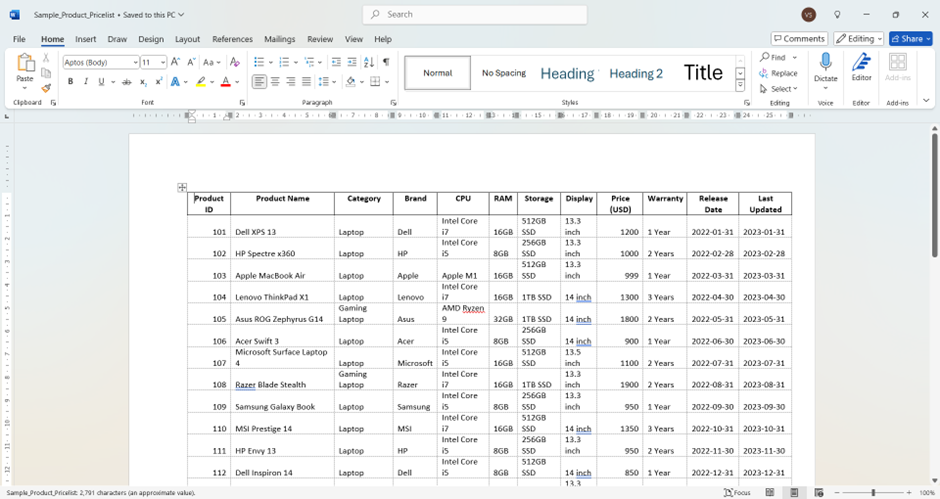
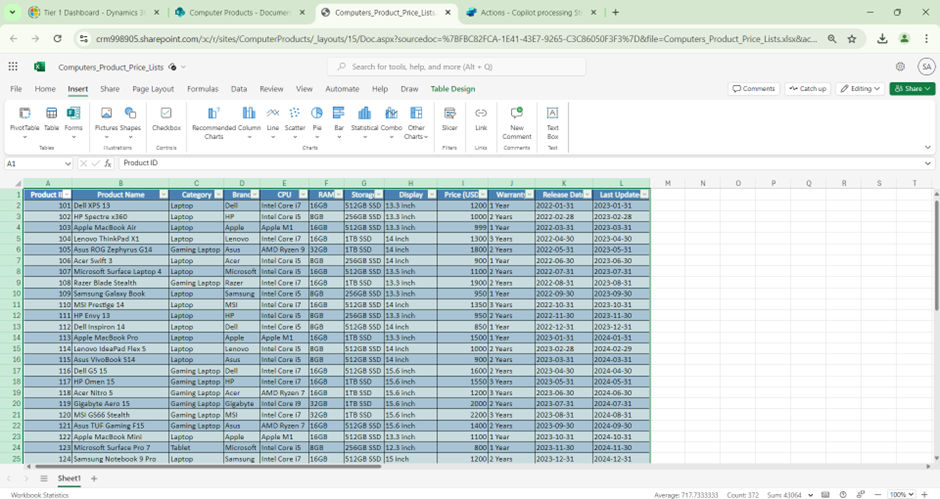
- Consider we have the sample Excel sheet as shown below. It has the list of different Products and Computer brands along with other specifications as Price details.
- We can use this as sample structured data for our scenario. In real business scenario, this data can be any anything based on the Business requirements.
- I have a SharePoint site and have placed the Excel worksheet into the Documents.
- Copy the SharePoint URL for our reference.

Current Behavior: How Copilot responds to Queries with Excel SharePoint Knowledge Source
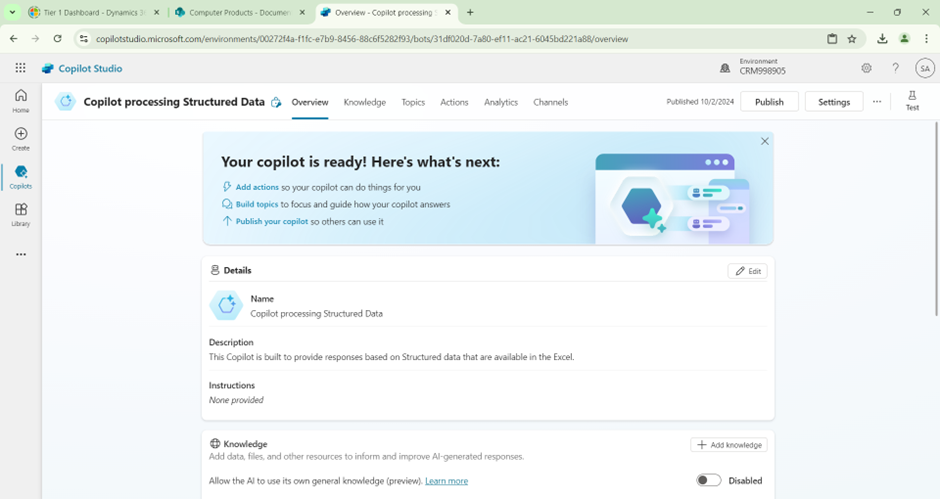
- Create a new Copilot (or) use the existing Copilot.
- We don’t need to create or Add any topics for this scenario.
- We shall disable the Copilot own General knowledge (To experience the real ability of the Copilot Knowledge Source).
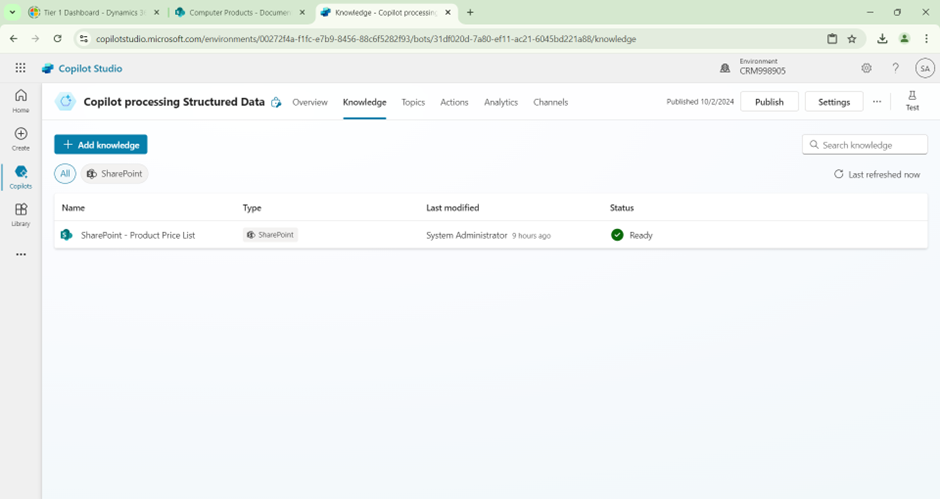
- In the Knowledge Source, add the SharePoint path to the documents where we have the Excel sheet.
- Save and Publish the Copilot.
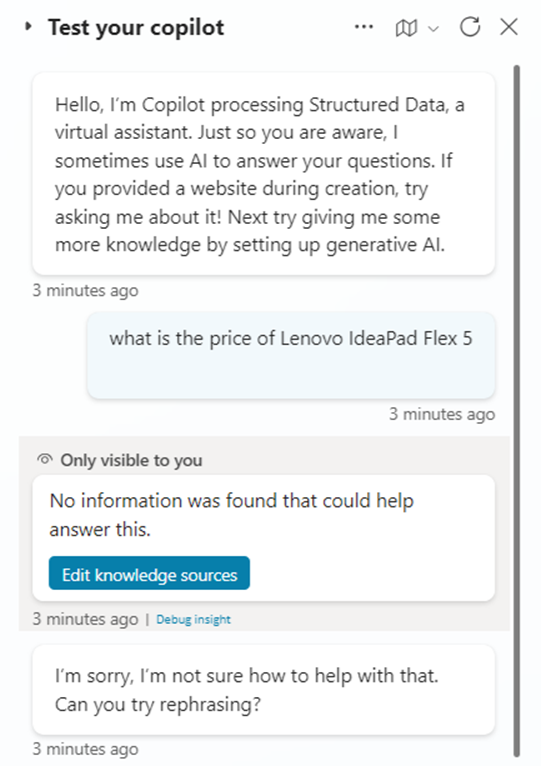
- Now we can go ahead and test the Copilot.
- Most of the time, Copilot is unable to provide proper response with only Excel sheet as knowledge source in SharePoint.
- I Just wanted to try out the same method by using the same Data in Word file. I hope PDF also works similar.
- I have placed the same data table inside a Word document and placed it inside the SharePoint folder.

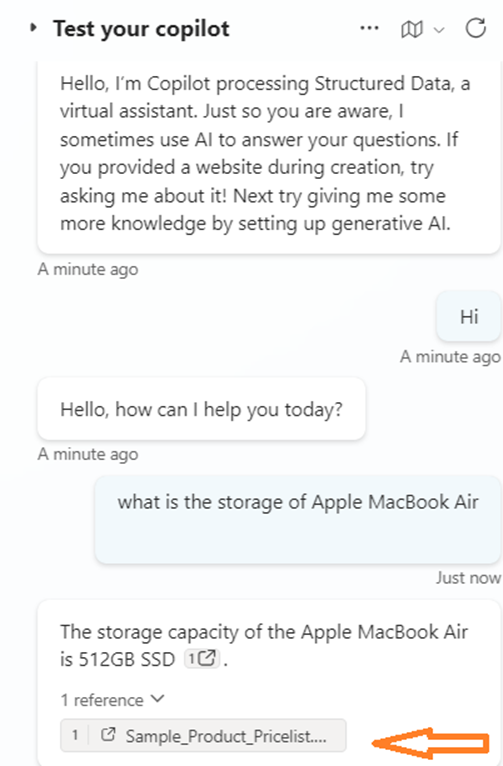
- Now when we test the Copilot, surprisingly we can see that Copilot provides response from the Knowledge Source.
- I have tried few times, and Copilot responds with the Word Document reference. The same data in a Structured Excel is unable to provide the Responses.
Configure Actions to use Structured Excel Data from SharePoint:
- Now let us see how to overcome this difficulty.
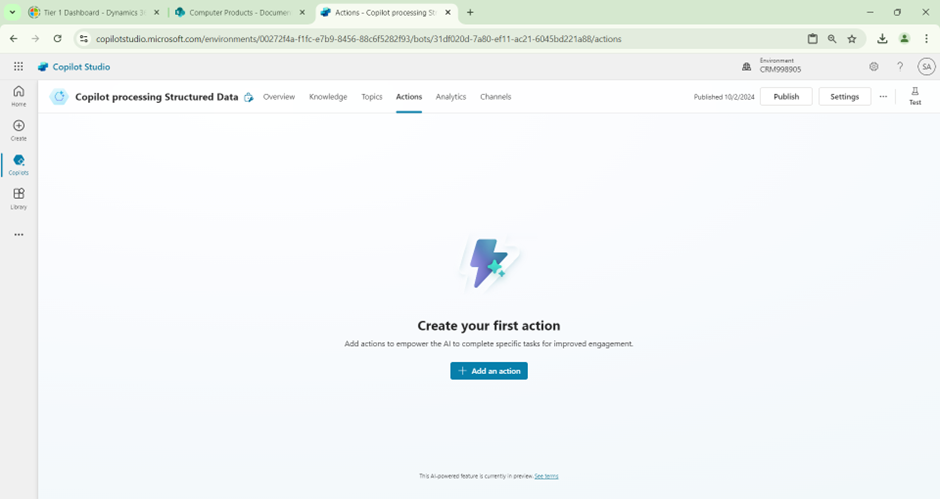
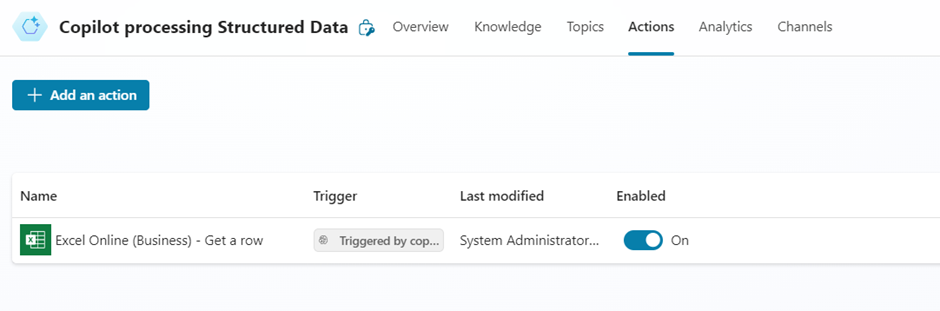
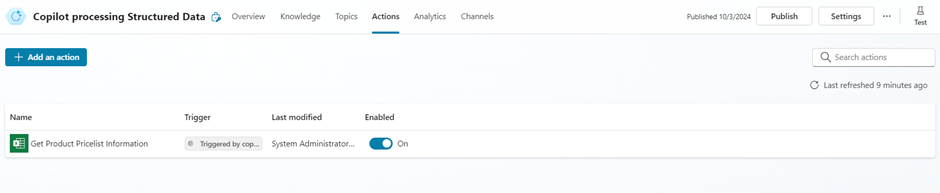
- In Copilot Studio, we will create a new Action.
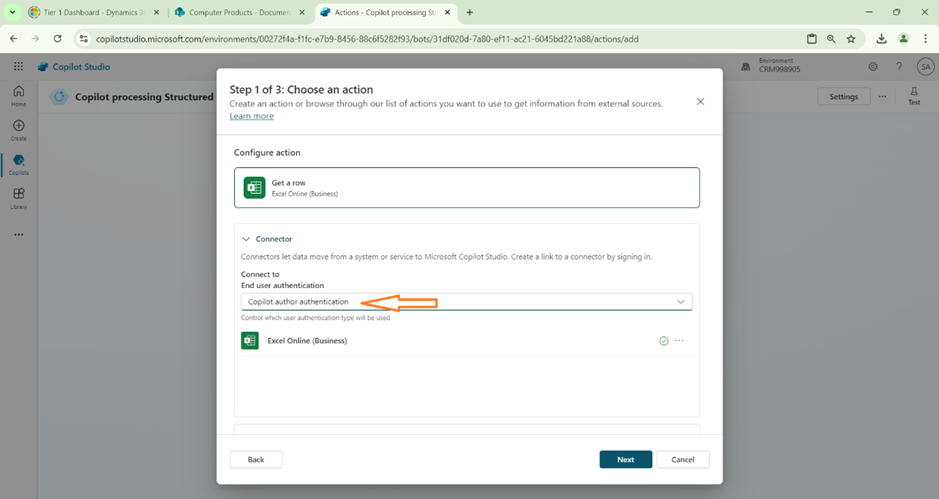
- Look for Excel connectors in choosing the Action.
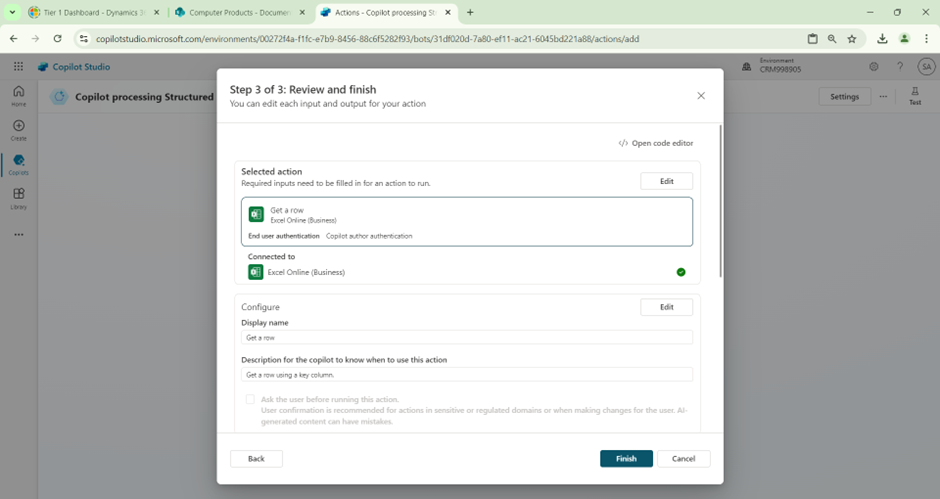
- Select the “Get a row” – Excel Online business.

- For this scenario, we can just specify the Authentication as Copilot Author Authentication.
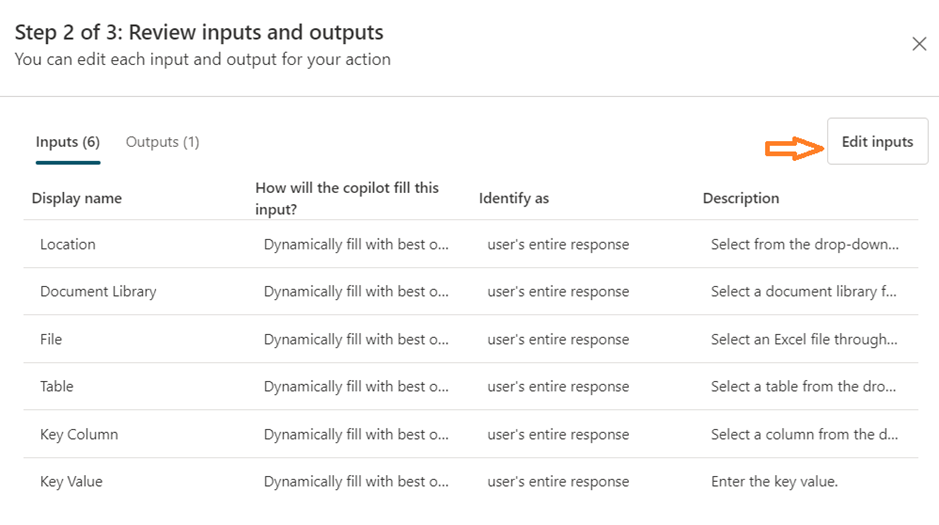
- Go for the Inputs section. We can see Input variables that are inbuilt for this Action.
- Click on Edit Inputs.
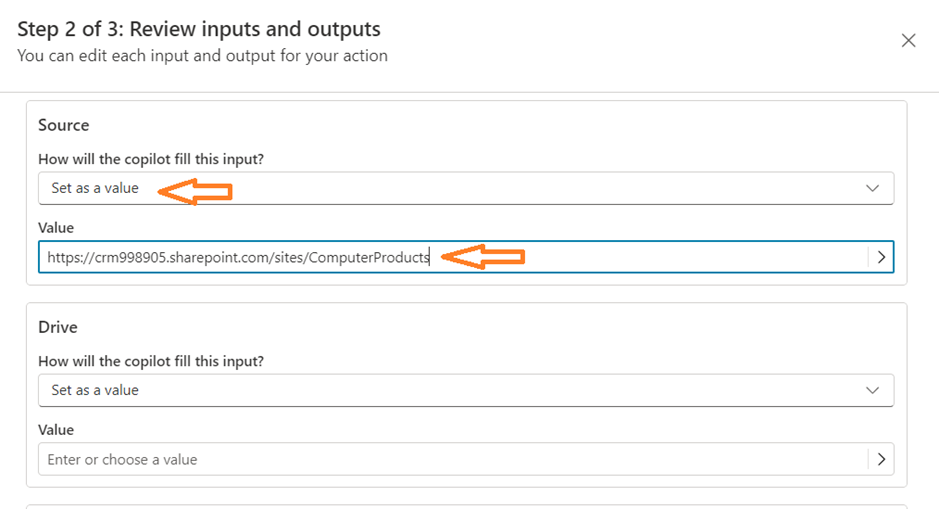
- In the Source -> How will the Copilot fill this input? provide the option as “Set as Value”. In the value Column, specify the SharePoint path where the Excel sheet is placed.
- In the Drive -> Leave it Empty as of now. Later We just need to select the Folder name inside the SharePoint site. In our case it is Documents.
- In the SharePoint, I open the Excel worksheet just to take the File name and Table name.
- In the Next inputs, fill up the File name and Table name as shown below.
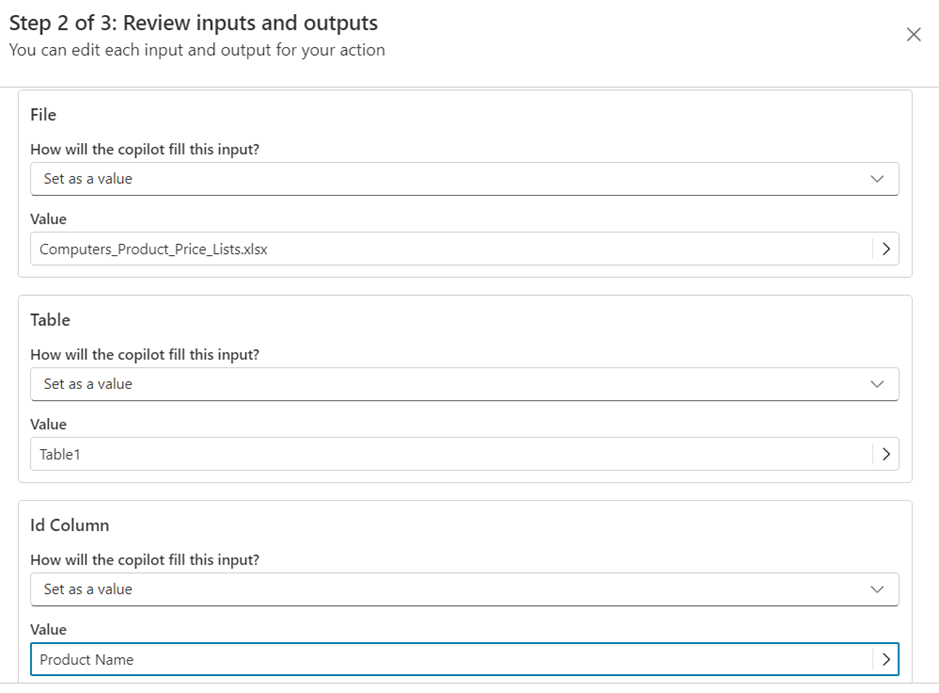
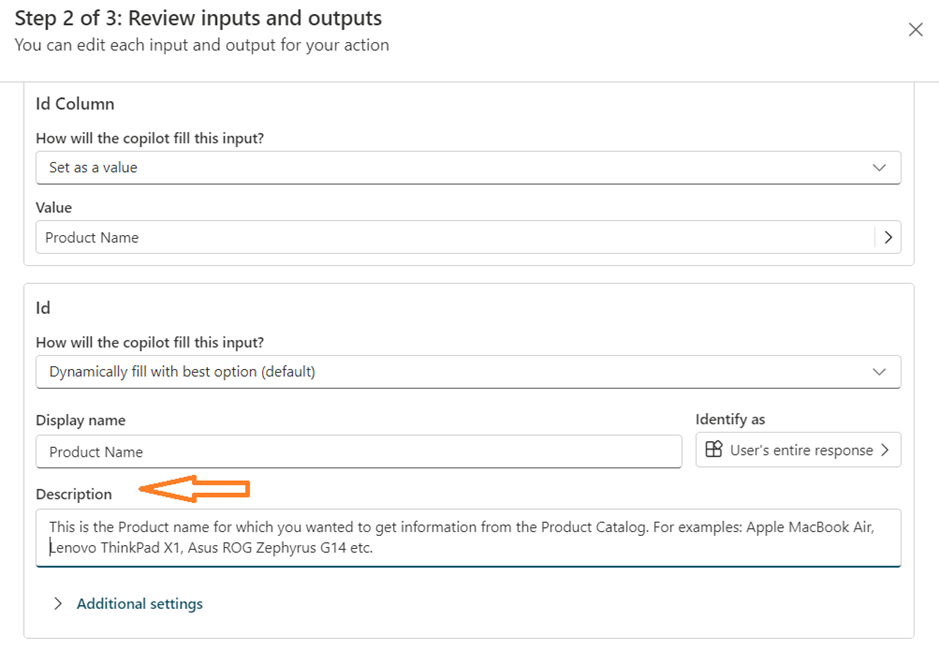
- Now comes the most important part. We need to specify the Id column based on which the actual retrieve of the data will happen.
- In our scenario, I’m considering the Product Name column as the Id column.
- Whatever the queries that Copilot performs, will be based on this Id column only.
- Provide a detailed description for the Id column as shown below so that LLM understands what it is going to perform.
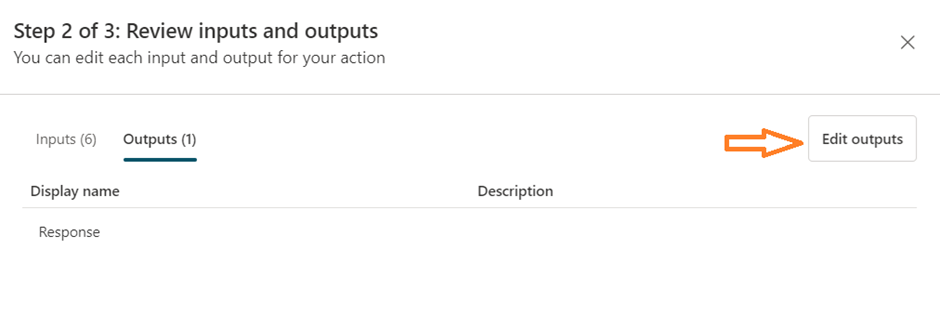
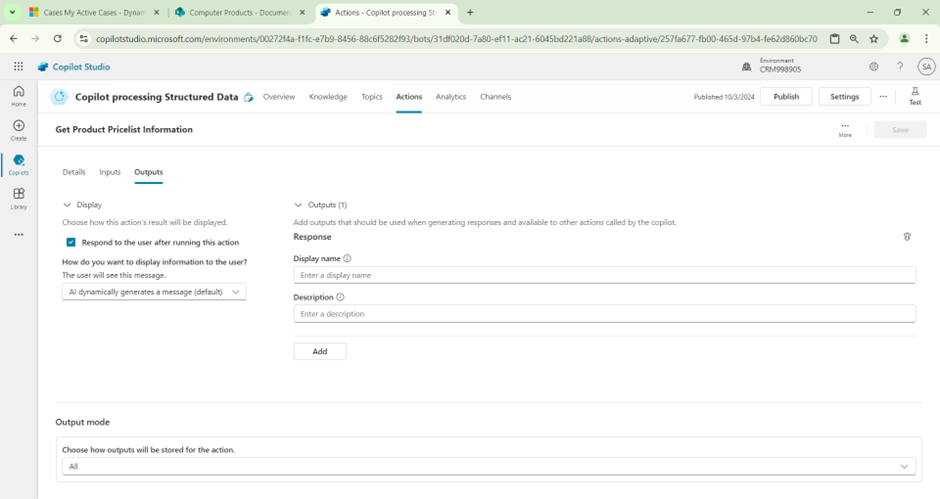
- Once the Input section is completed, move on to the Output tab.
- Click on “Edit Outputs” as shown below.
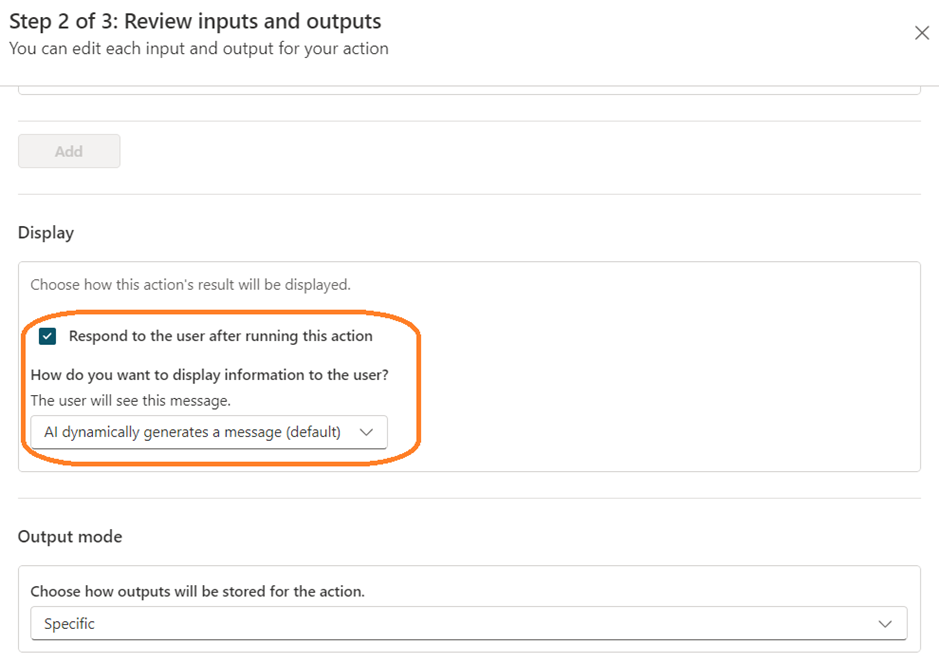
- Check the Respond to user after running the action.
- Click on next.
- In the Review page, click on Finish.
- Now we need to do some more configurations in the same Action.
- Click and Open the Action again.
- In the Details section, make sure that Display name and Descriptions are filled up. We need to provide a meaningful description that suits the Action.
- This description plays a major role on how copilot uses the Actions automatically.

- In the Inputs tab, check on the Drive. If the value is empty, then select the folder inside the SharePoint where the Excel is available. In our scenario this is Documents folder.
- After saving, system automatically changes the values as random texts as shown below.

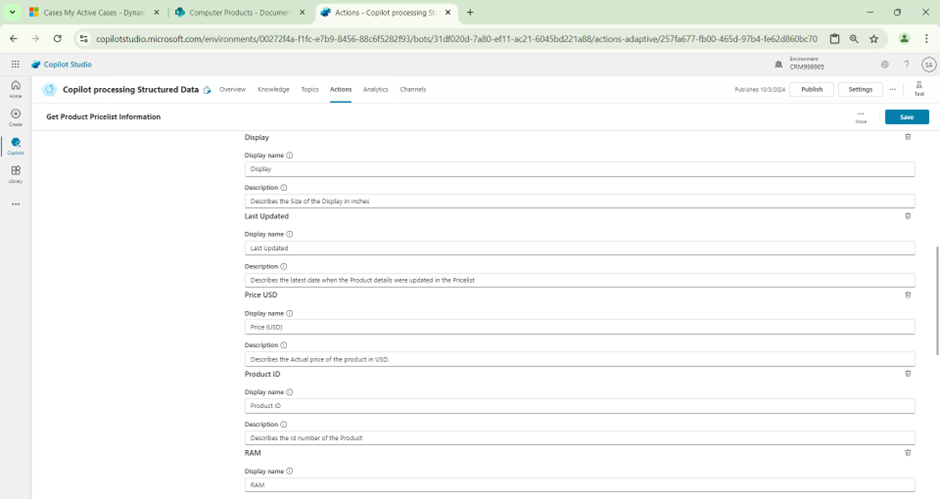
- Now coming to the most important part. We need to Set Output variables.
- Click on the “Add” button, and we can see the Excel columns being listed automatically as shown.
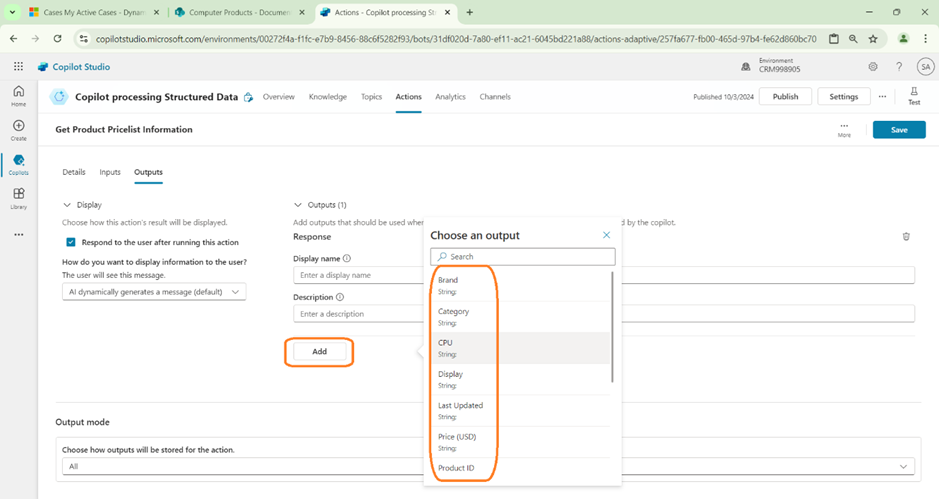
- Now Select the Column name, provide a Description that describes the column. This is being used by the LLM to identify the usage of the column.
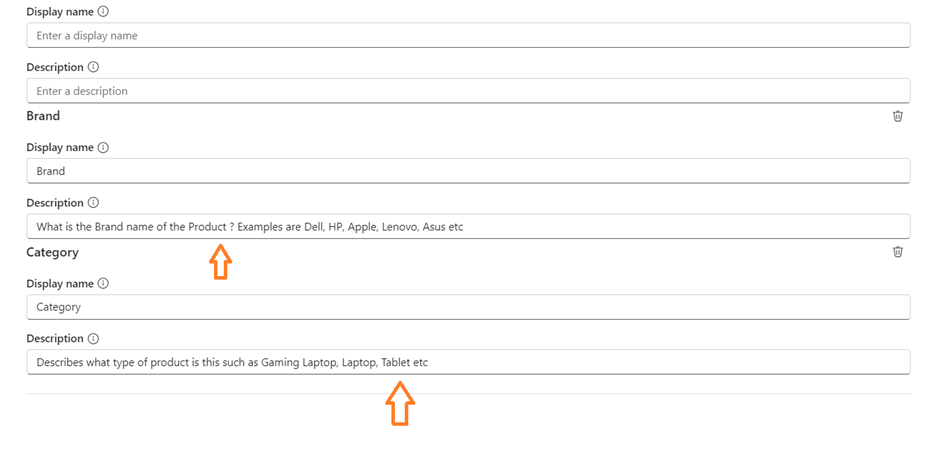
- Similarly, we can add all the Columns and provide the descriptions for those.
- It is not mandatory to include all columns here. But if the Coplot needs to provide accurate results, it is best to include all columns and provide proper description.
- Once done, Save the Action and Publish the Copilot.
Test the Copilot:
- Directly trying a prompt by asking the RAM and Storage of a Laptop model.
- Copilot is able to provide the response, by using the Action.
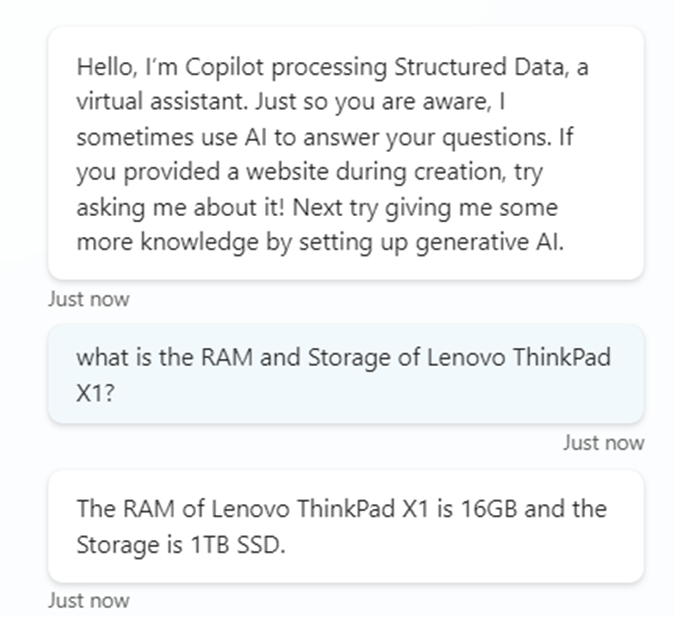
- As a follow-up question, we can ask for another information without mentioning the Product name. Copilot able to understand the context and provide the response correctly.

- Continue asking for all the details using the same context. Copilot provides all the details based on the Columns present in the Excel sheet.

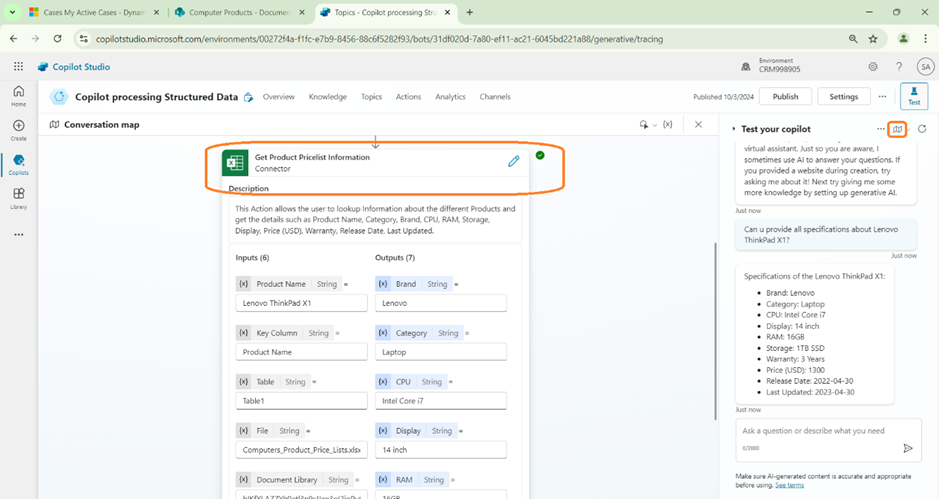
- If we need to understand how the Copilot responds, click on “Conversation Mapping” to identify the steps how copilot provides the response.
- We can see our newly created action, how the input values are passed and the Output values that are obtained as response from the Action.
Reference:
Happy Copiloting !!!


